
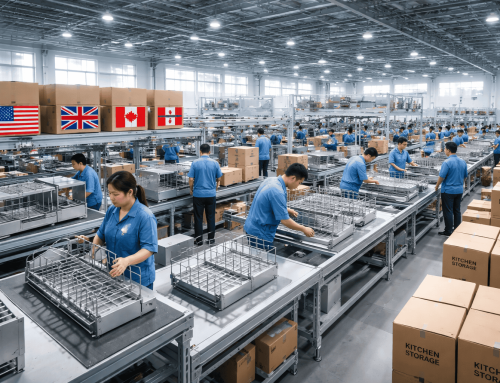
How to Install Pull Out Wire Baskets for Easy Cabinet Access
If you’ve ever had to dig deep into a lower cabinet just to find a pot or spice jar, you know how frustrating it can be. Pull out wire baskets are a simple solution that makes kitchen storage far more accessible. With a few tools and some careful measuring, you can install them yourself and enjoy a much more organized space.
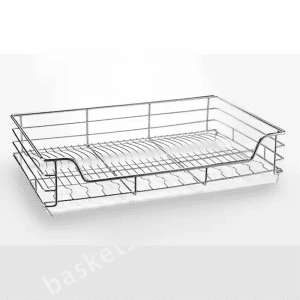
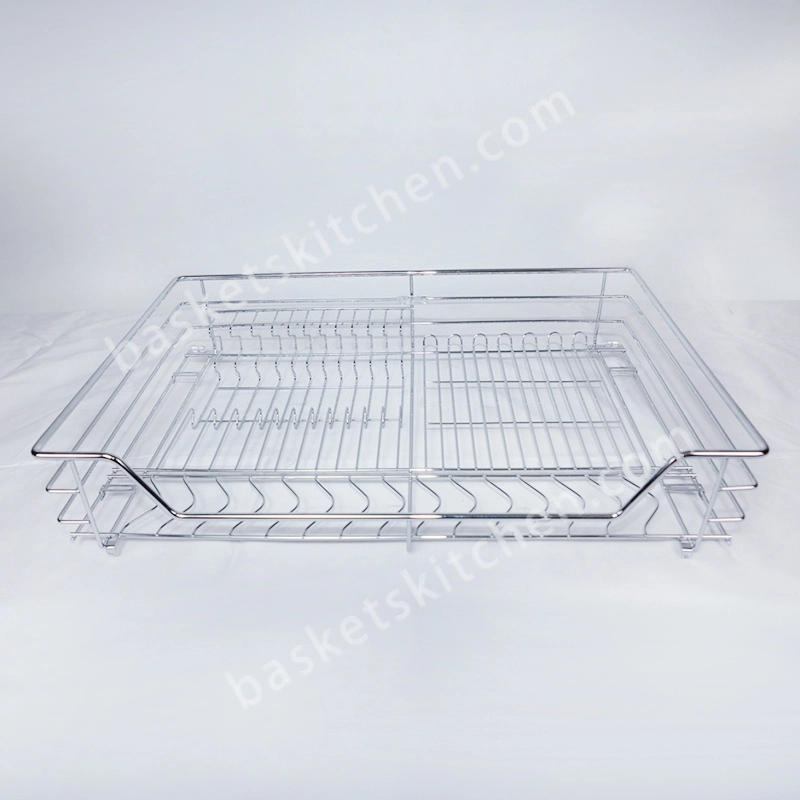
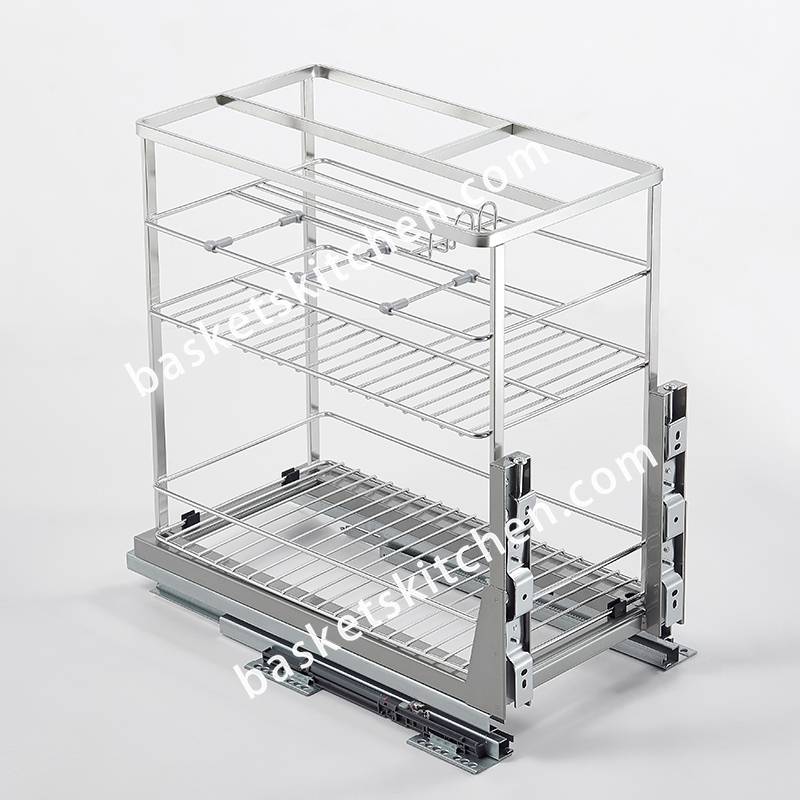
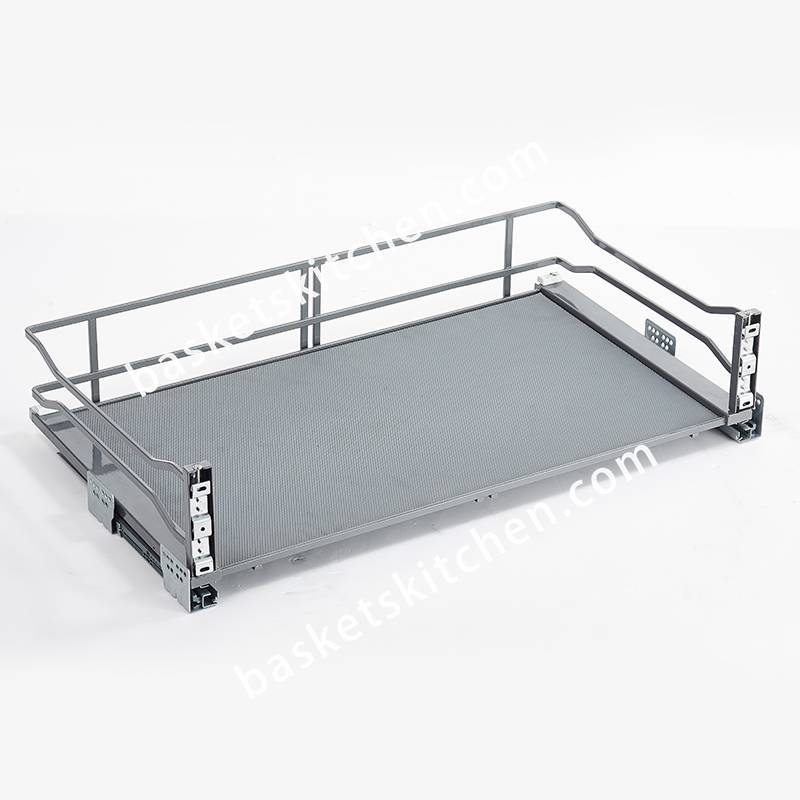
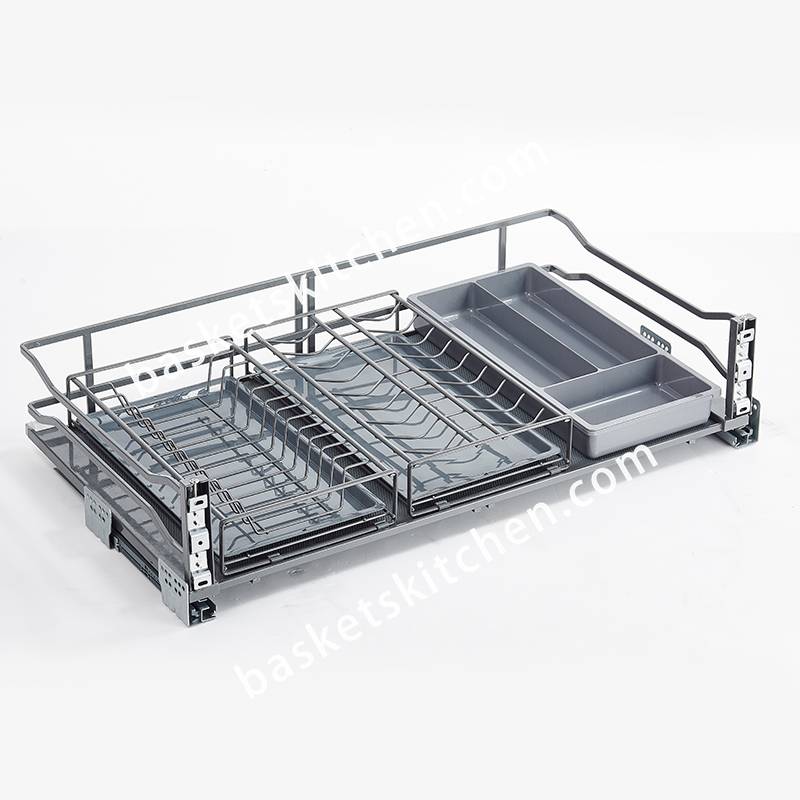
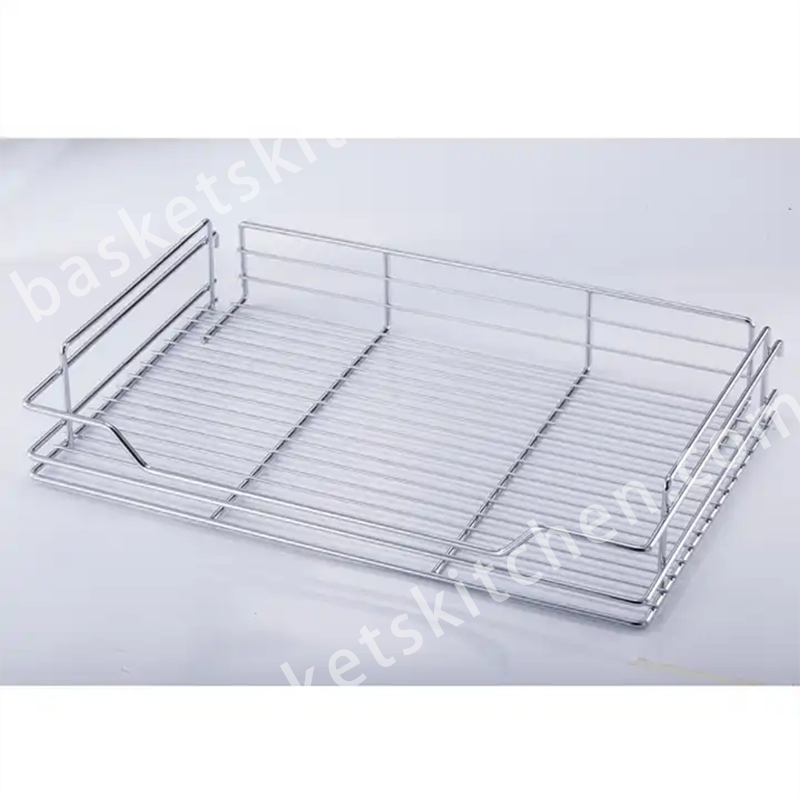
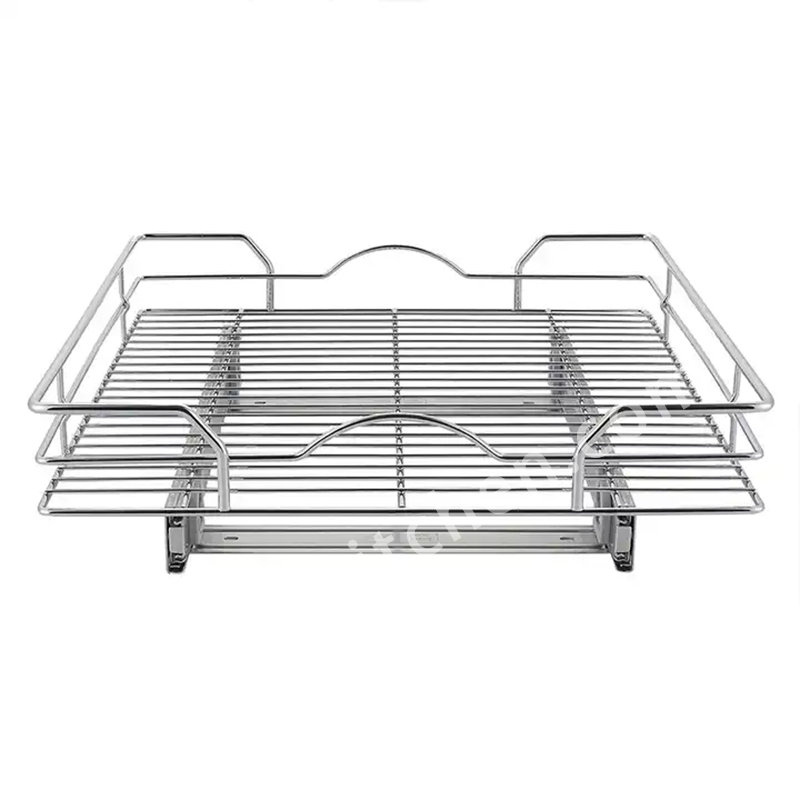
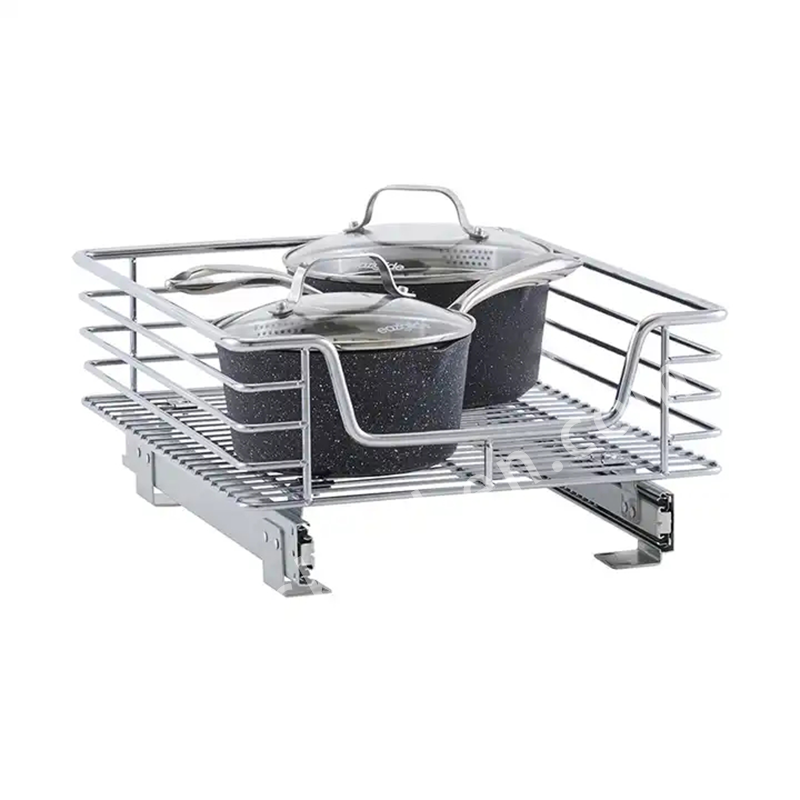
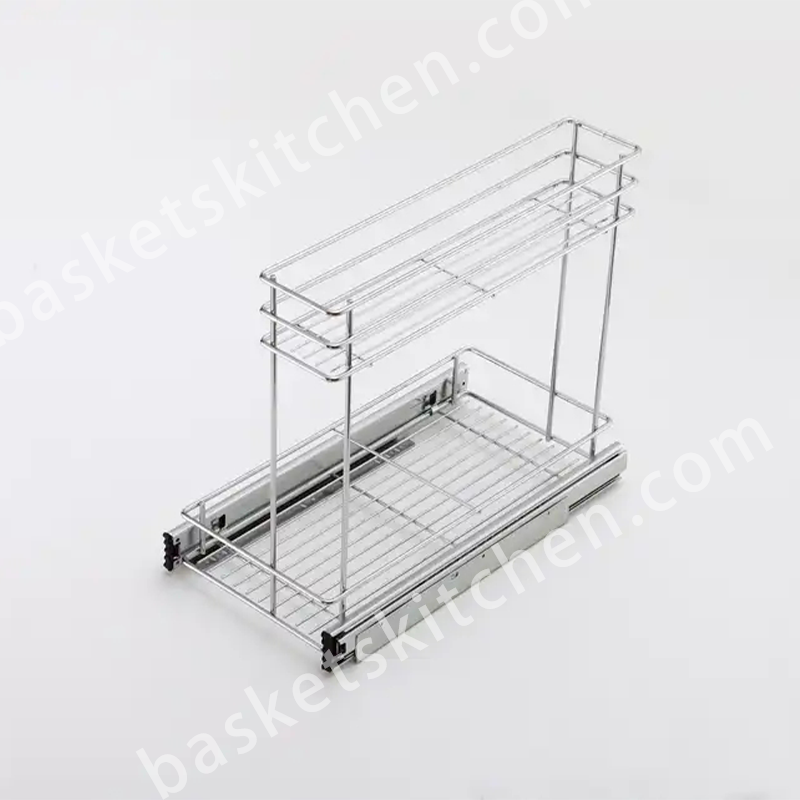
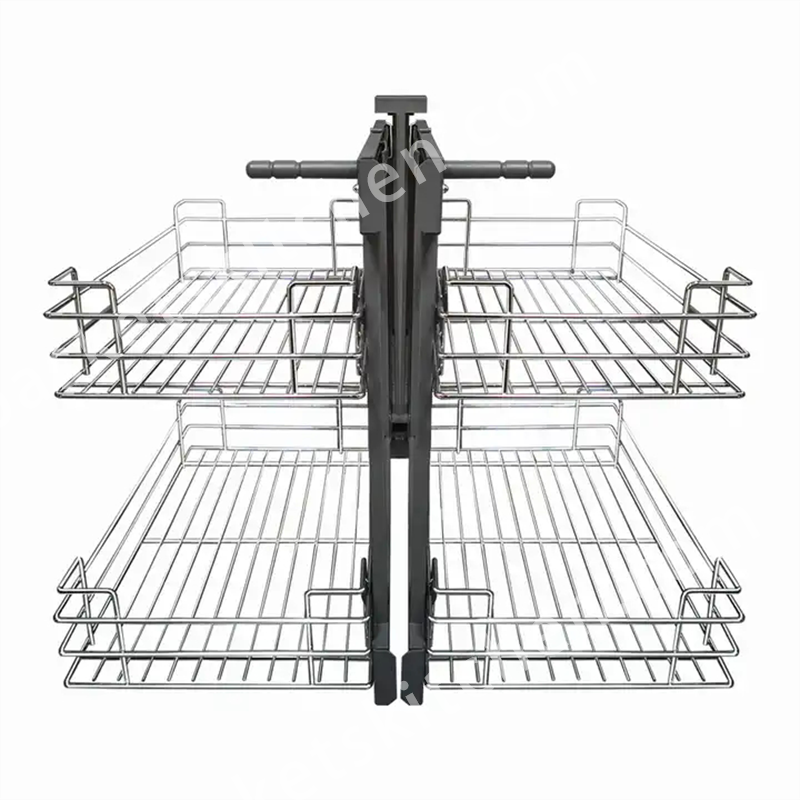
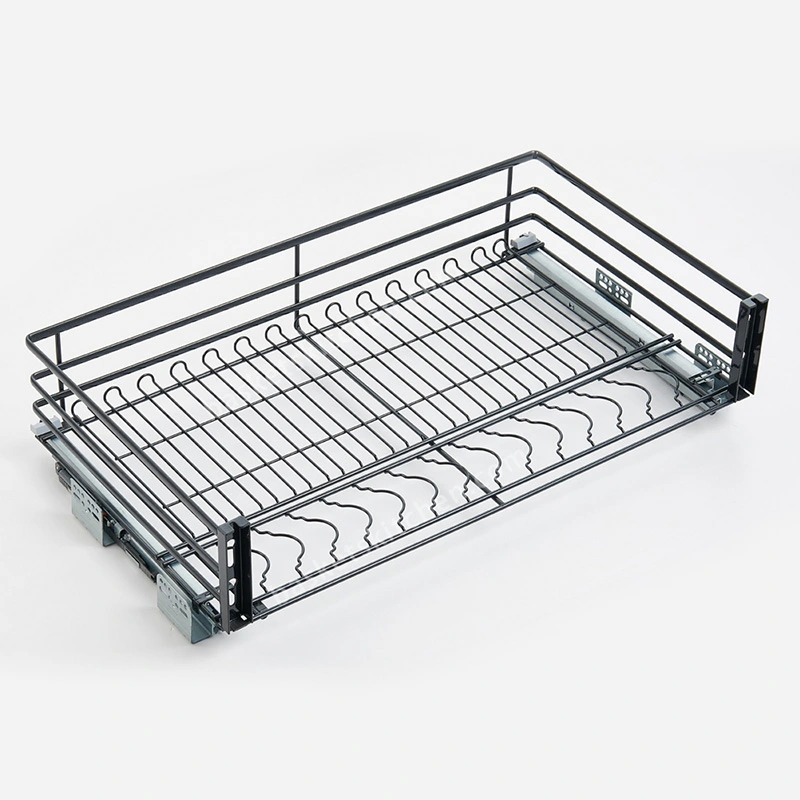
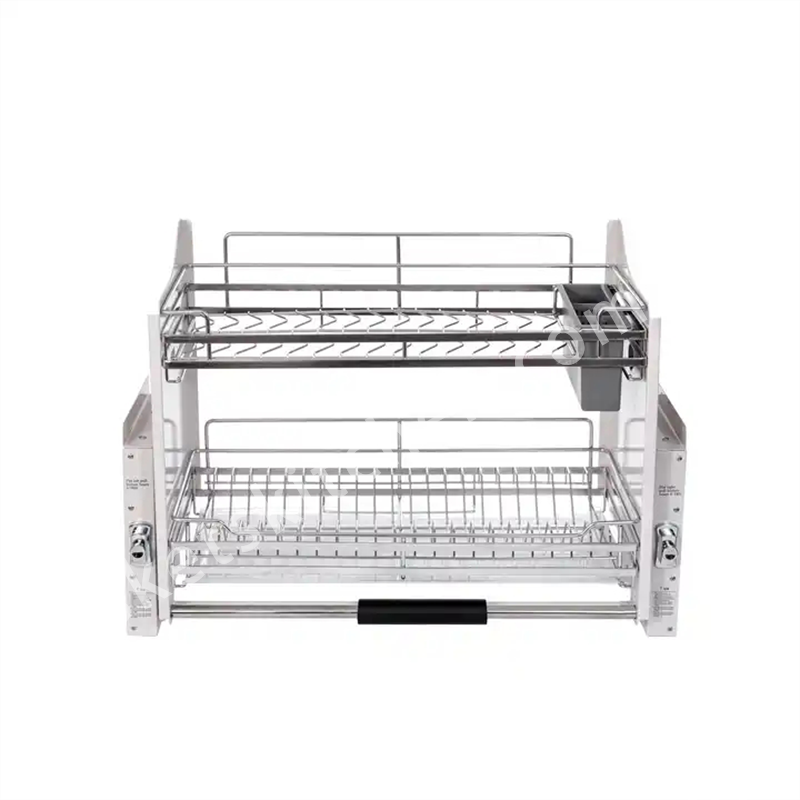
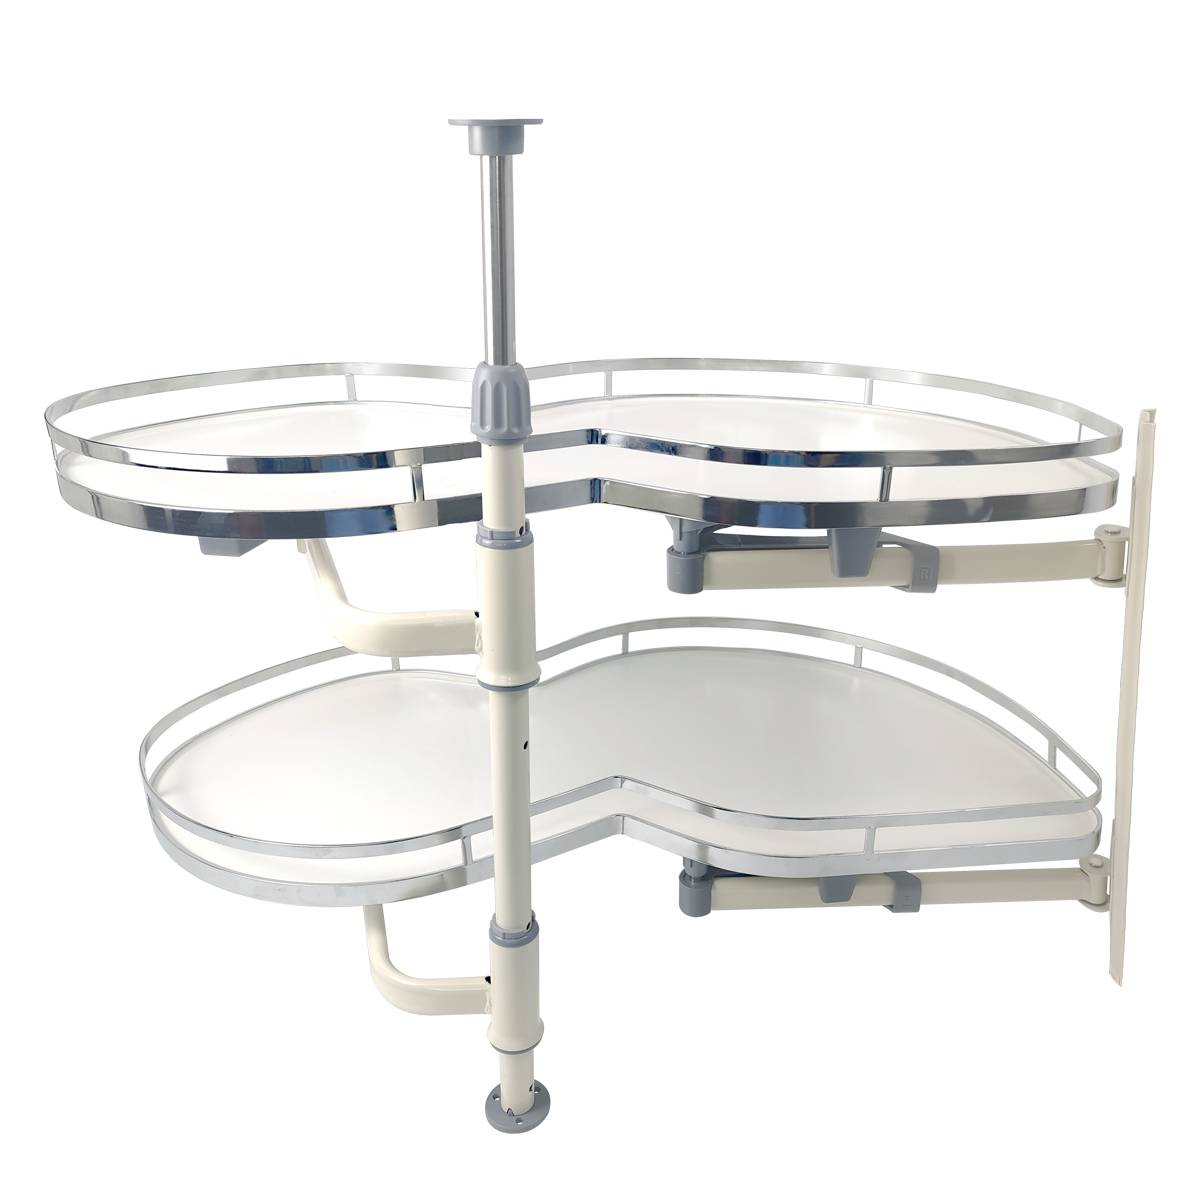
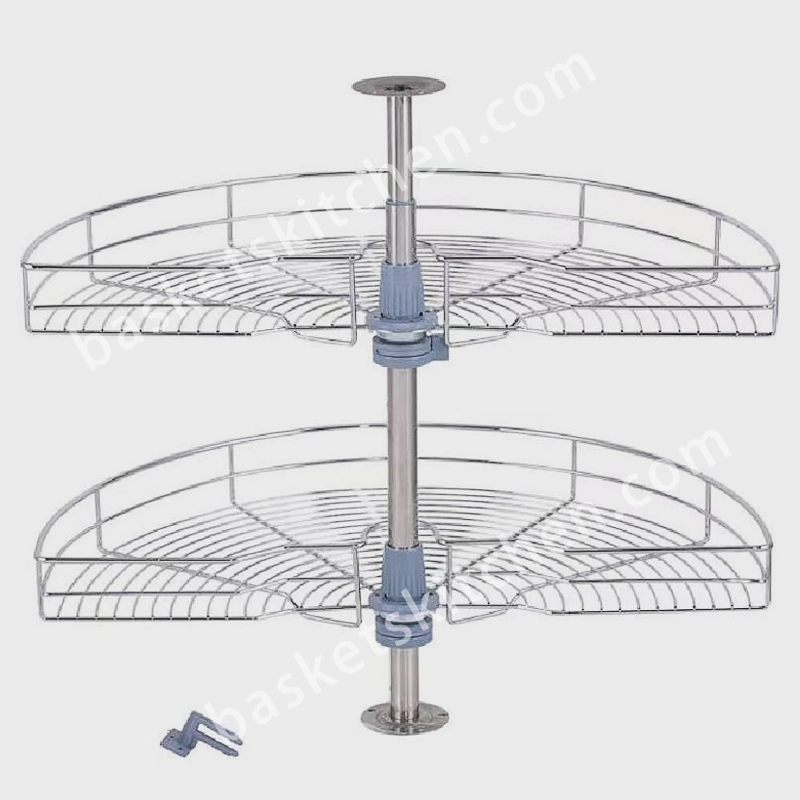
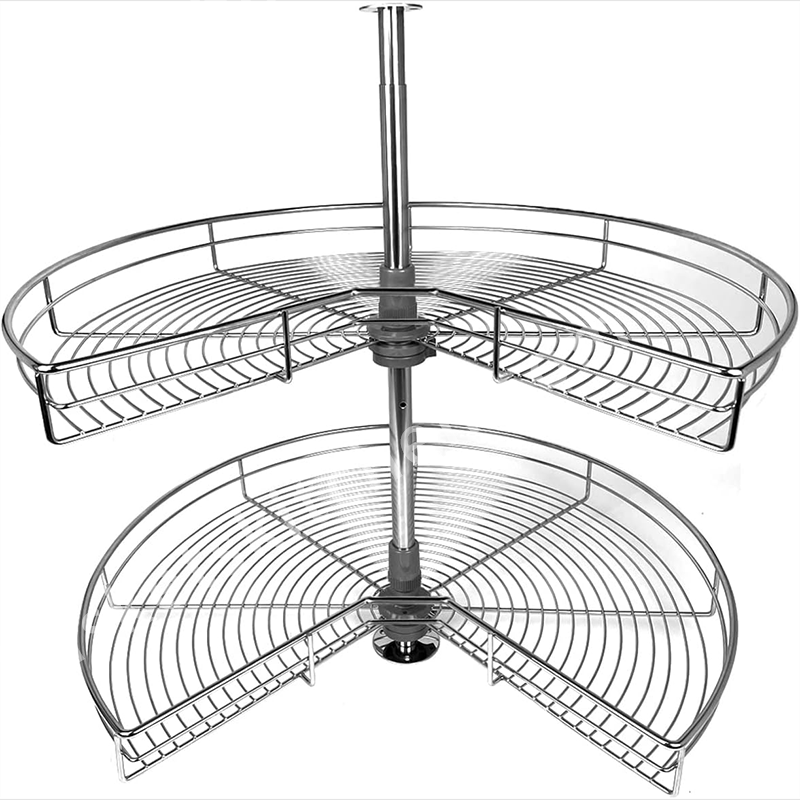
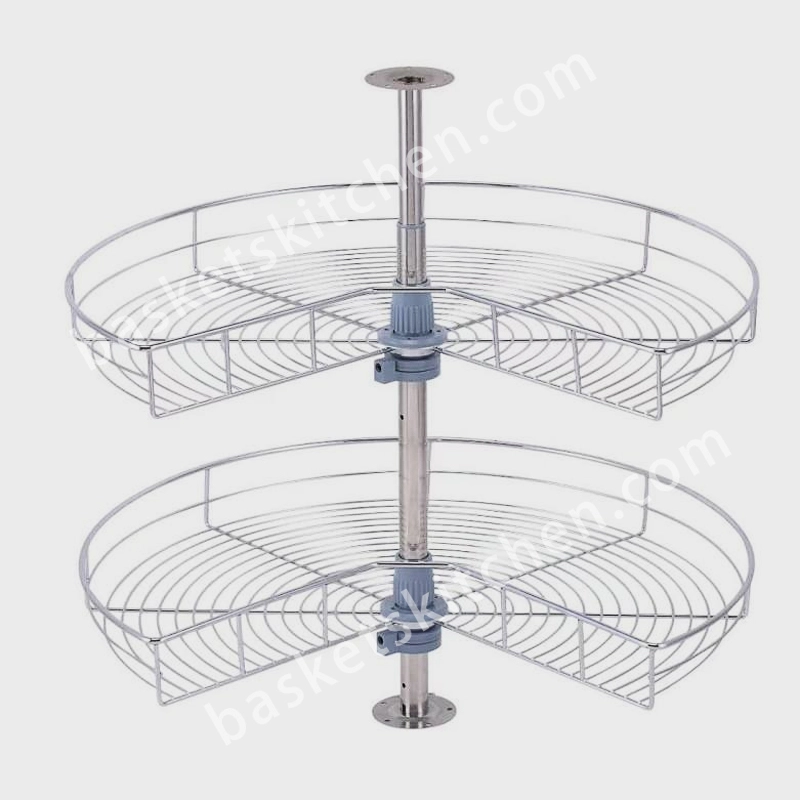
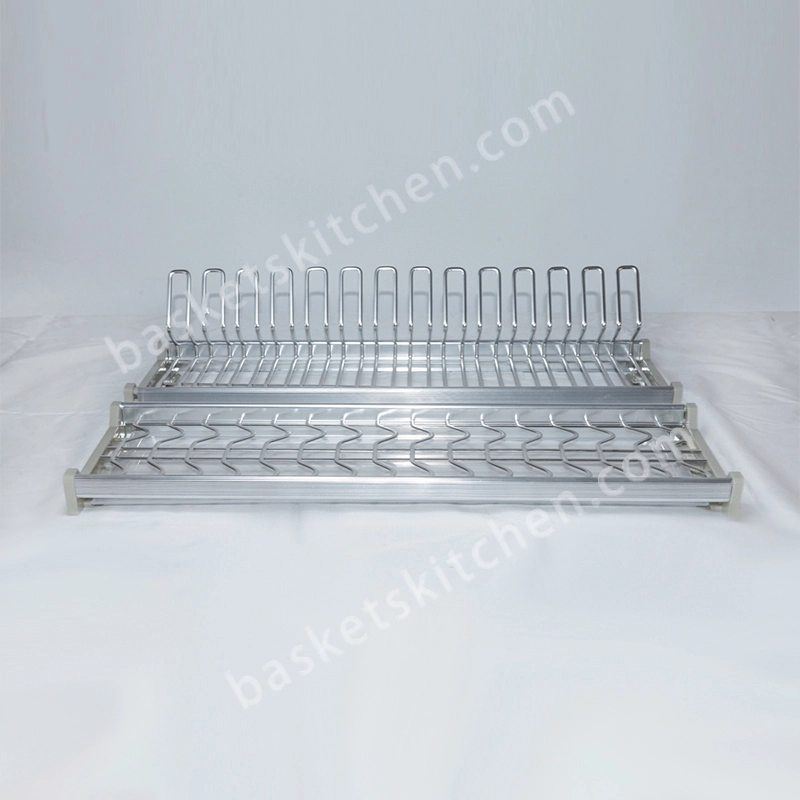
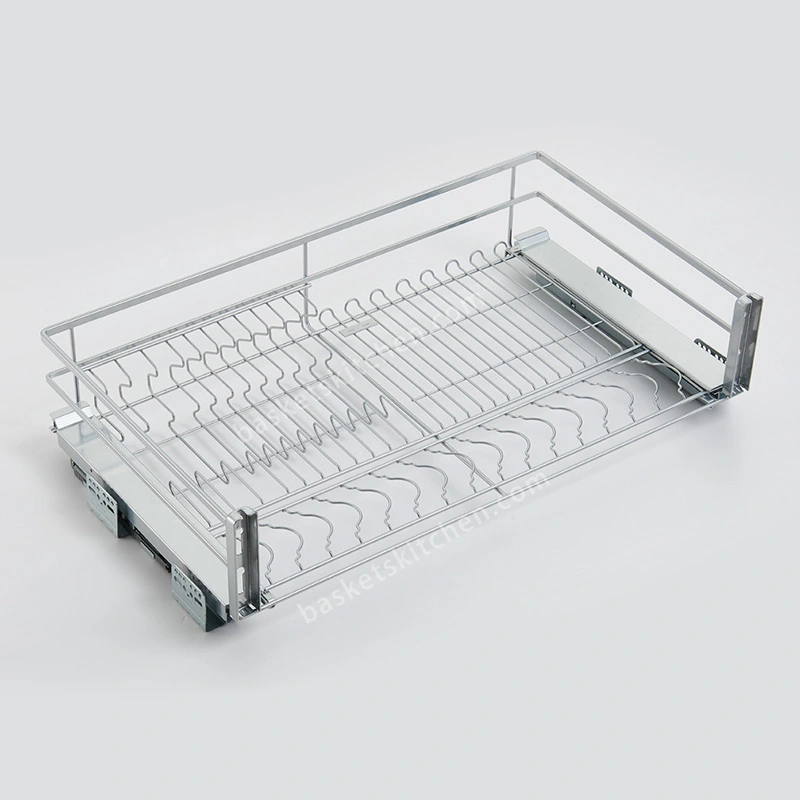
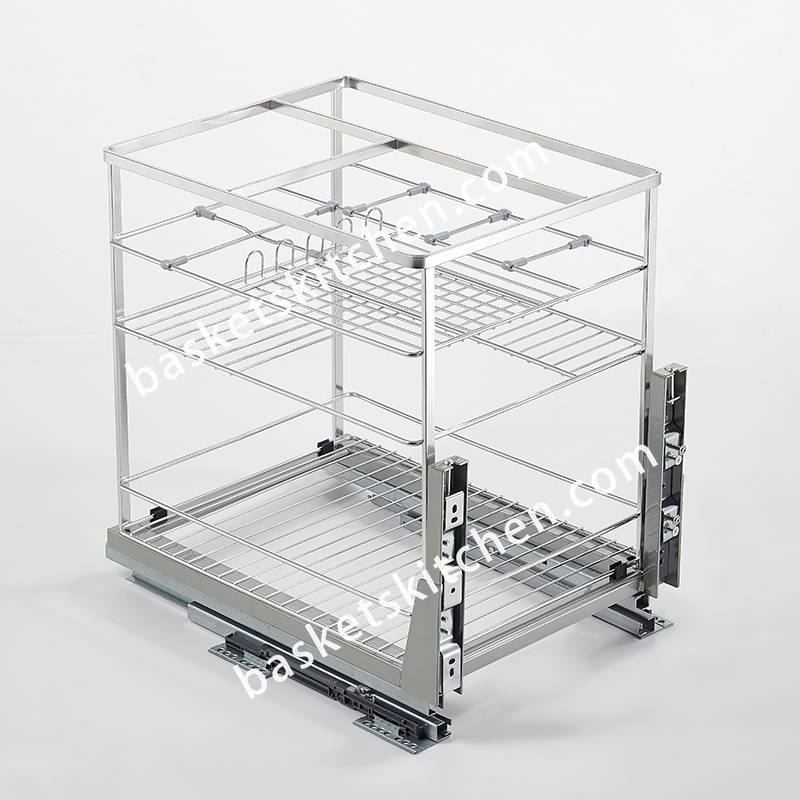
What Are Pull Out Wire Baskets?
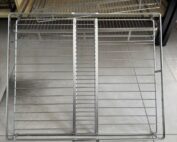
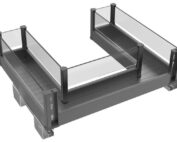
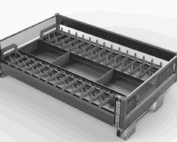
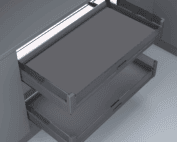
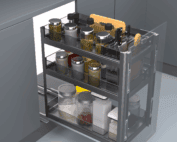
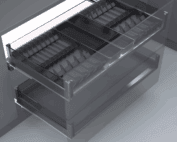
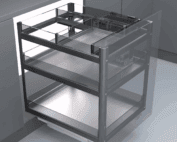
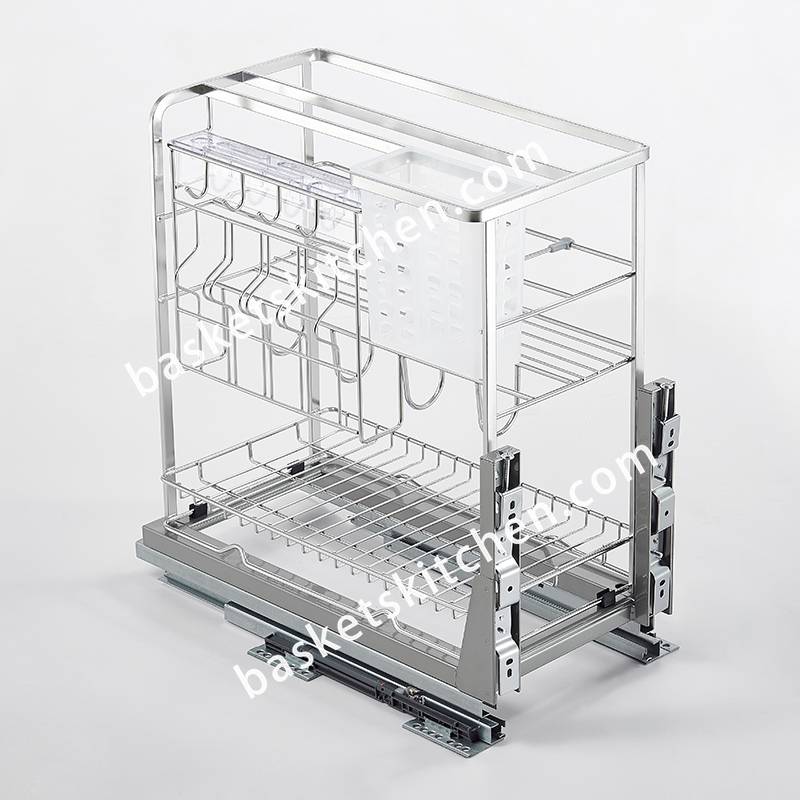
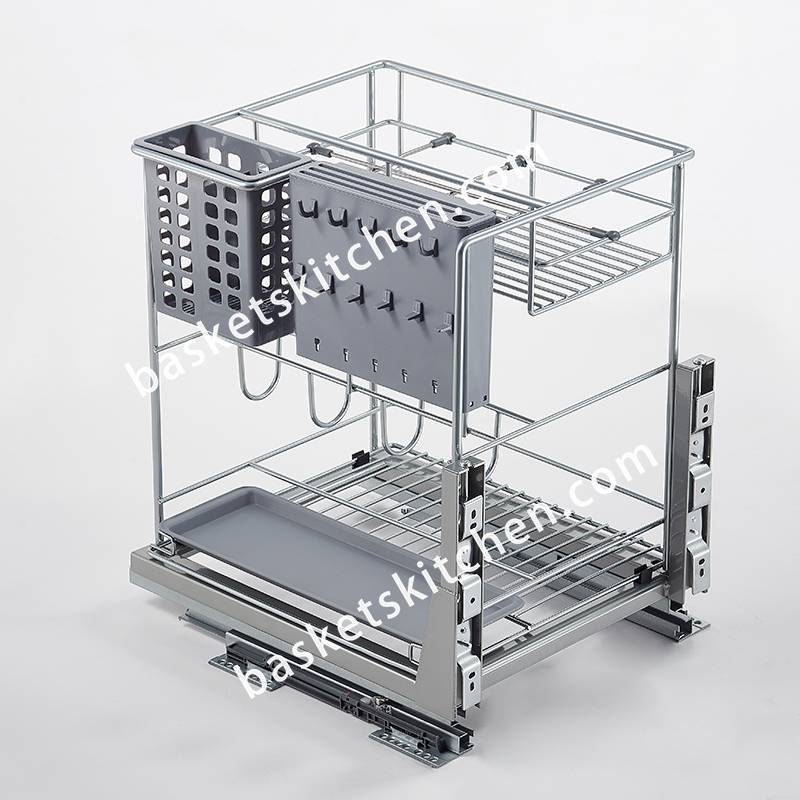
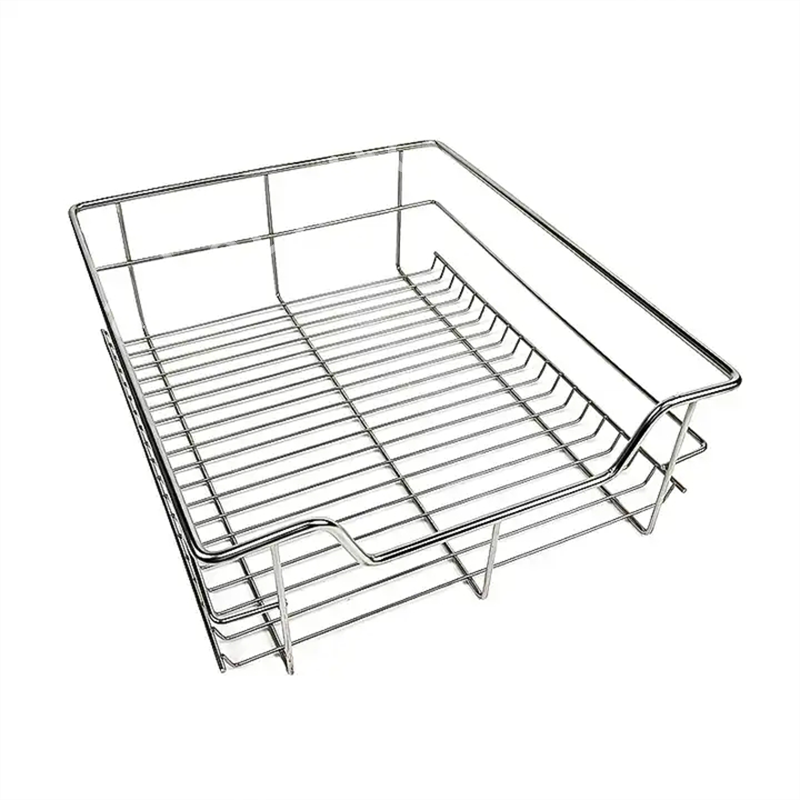
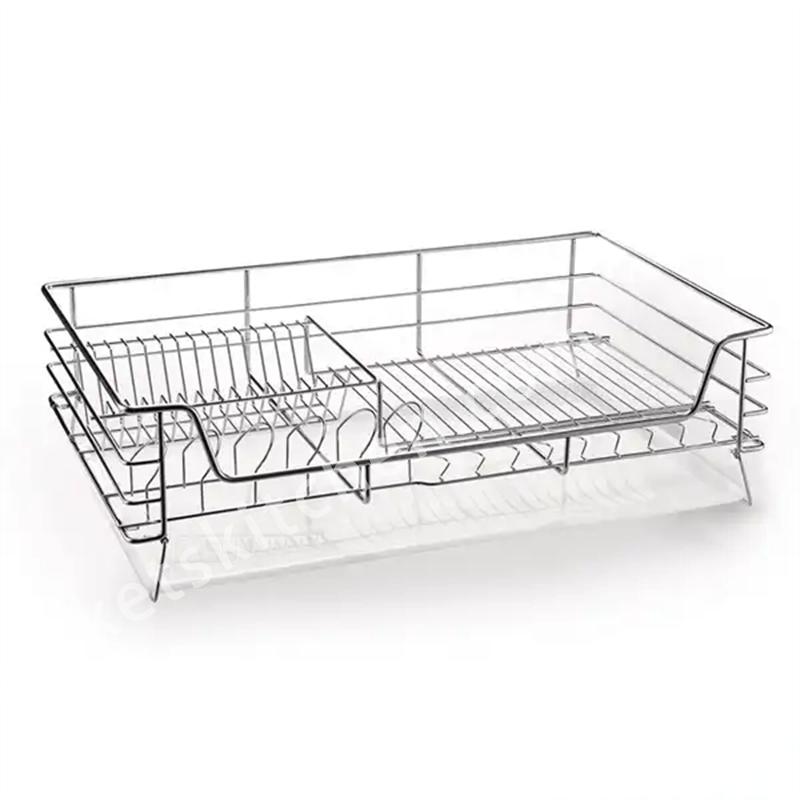
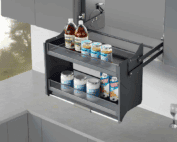
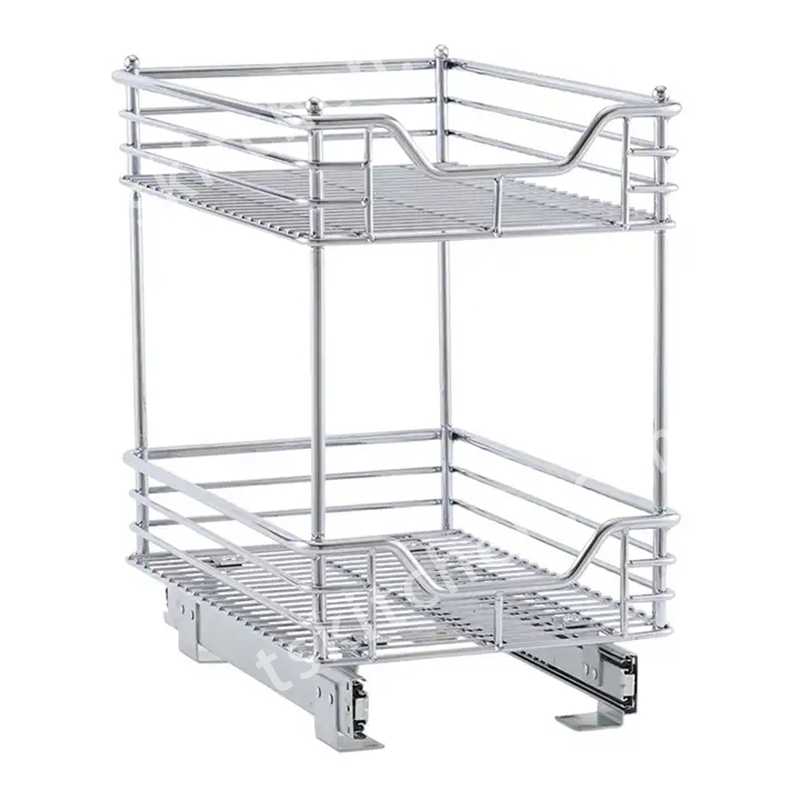
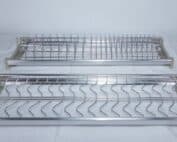
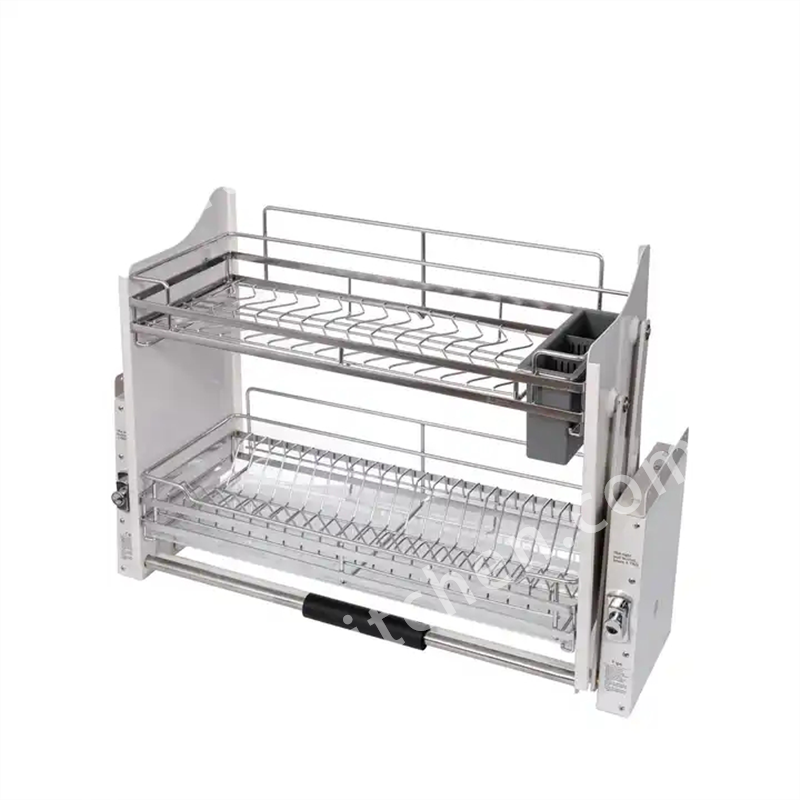
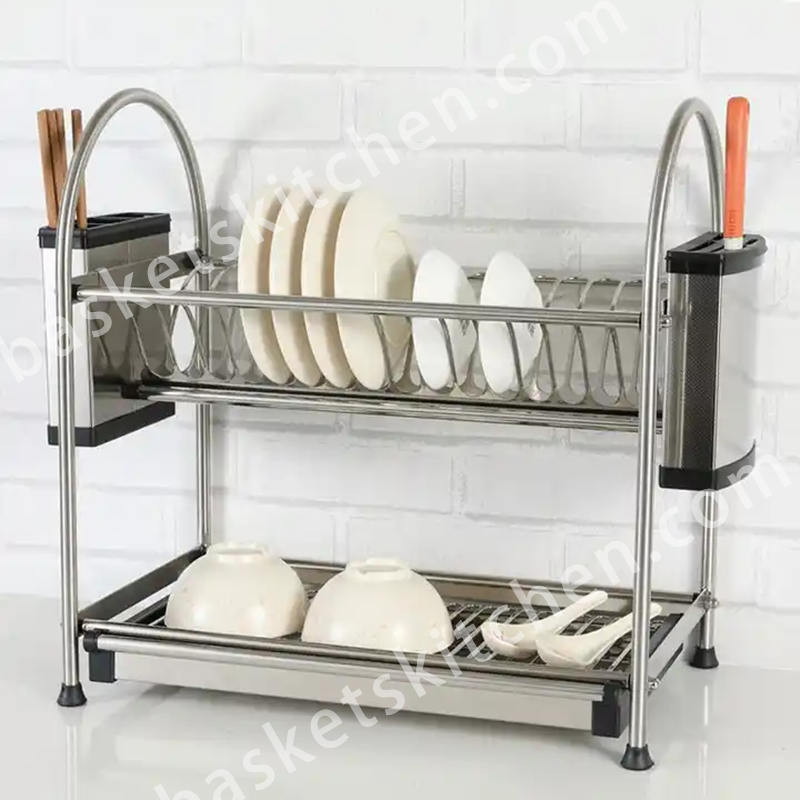
Pull out wire baskets are sliding storage trays that mount inside cabinets. They’re usually made of stainless steel or chrome-plated steel and run on rails or glides. When you pull the basket forward, the entire storage area comes out into the open, so you can easily see and reach everything inside.
They work well for storing cookware, pantry goods, cleaning supplies, and even bathroom or laundry items.
Why Install Pull Out Wire Baskets?
Adding pull out baskets isn’t just about convenience—it’s about making full use of every inch of cabinet space.
Key Benefits:
-
Improved access: No more crouching, reaching, or removing other items to get what you need.
-
Better organization: Keep similar items together in one place.
-
Space efficiency: Make use of the entire depth of the cabinet.
-
Durability: Metal construction resists wear, moisture, and staining.
Tools and Materials You’ll Need
Before you start, gather:
-
Pull out wire basket (correct size for your cabinet)
-
Measuring tape
-
Pencil or marker
-
Drill with screwdriver bits
-
Level
-
Screws (usually included with the basket)
Step-by-Step Installation Guide
Step 1: Empty and Clean the Cabinet
Remove all items and wipe down the surfaces. This ensures the rails mount securely.
Step 2: Measure and Mark
Measure the cabinet’s width, depth, and height. Mark where the rails will be positioned—most should be centered side-to-side for smooth operation.
Step 3: Position the Rails or Frame
Place the basket frame or mounting rails inside the cabinet. Use a level to make sure they are straight.
Step 4: Drill Pilot Holes
Drill small pilot holes for the screws. This prevents the wood from splitting.
Step 5: Attach the Rails
Secure the rails or frame with the screws provided, following the manufacturer’s instructions.
Step 6: Install the Basket
Slide the basket into the rails. Test to make sure it glides in and out smoothly without scraping.
Step 7: Adjust if Necessary
If the basket doesn’t move evenly, loosen the screws slightly, reposition, and retighten.
Tips for Best Results
-
Double-check the product’s weight capacity before loading heavy items.
-
If installing multiple baskets, measure carefully so they don’t interfere with each other.
-
For frameless cabinets, you may need side-mount brackets.
-
In humid environments, choose stainless steel for better rust resistance.
Final Thoughts
Installing pull out wire baskets is one of the easiest ways to make your cabinets more functional. With just a few basic tools and less than an hour of work, you can create a storage system that’s both practical and long-lasting.
Whether in the kitchen, bathroom, or laundry room, pull out baskets make everyday storage simpler, cleaner, and more enjoyable to use.
Frequently Asked Questions
Q: Do I need special tools for installation?
A: No—just a drill, screwdriver, measuring tape, and level are usually enough.
Q: Can I use pull out baskets in narrow cabinets?
A: Yes, just make sure to choose a basket designed for your cabinet’s width.
Q: Will they work with heavy cookware?
A: As long as the basket and rails are rated for the weight, they can handle pots, pans, and appliances.
Q: Can I install them without removing the cabinet doors?
A: Usually, yes—but removing the doors temporarily can make installation easier.
About the author : basket@admin

Related Posts

2 Comments
Leave A Comment
Our OEM/ODM Kitchen Basket Category List


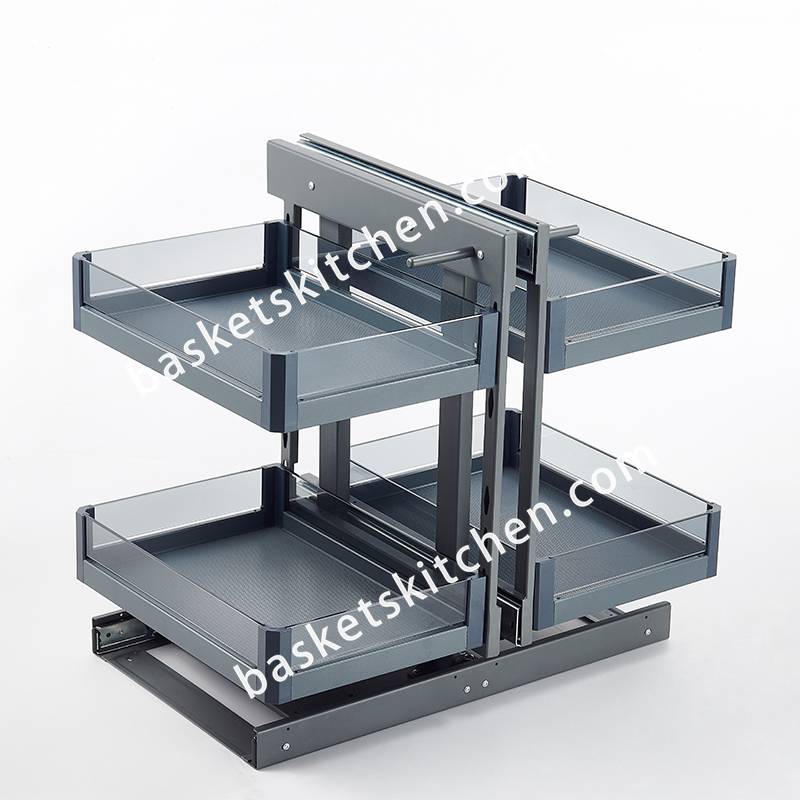
OEM Blind Corner Cabinet
Systems (6)


OEM Rotating Kitchen Baskets &Lazy Susans (3)
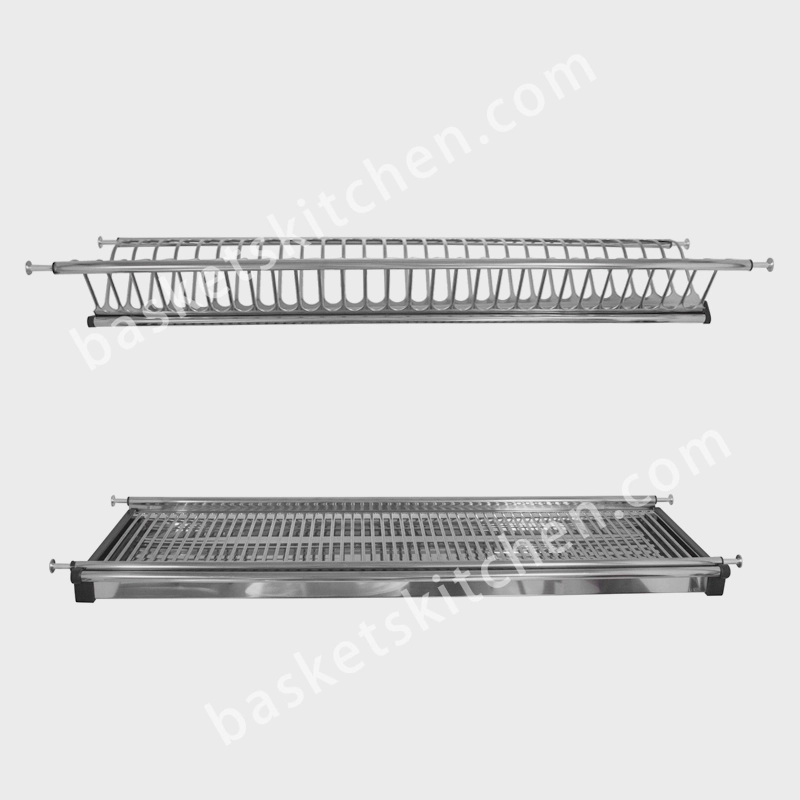
Kitchen Dish Drying Rack - OEM Manufacturer (2)

OEM Ancillary Cabinetry Components (4)


I don’t even know how I ended up here, but I thought this post was great.
I do not know who you are but definitely you are going to a famous blogger if
you are not already ;) Cheers!
Thank you for your wonderful comment! I’m really glad you enjoyed the post. Your encouragement truly motivates me to keep creating helpful content. I hope you’ll visit again soon. Cheers! 😊