How to Install a Pull Out Basket in Your Kitchen Cabinet
Adding a pull out basket is one of the easiest ways to make your kitchen cabinets more useful. Instead of struggling to reach items at the back of a deep shelf, a sliding basket brings everything right to you. It’s a simple upgrade that can make everyday cooking and cleaning much more convenient.
Why Install a Pull Out Basket?
A pull out basket turns wasted cabinet space into practical storage. You don’t have to crouch down or empty the whole shelf just to find one pot or pan. Everything slides out in one smooth motion.
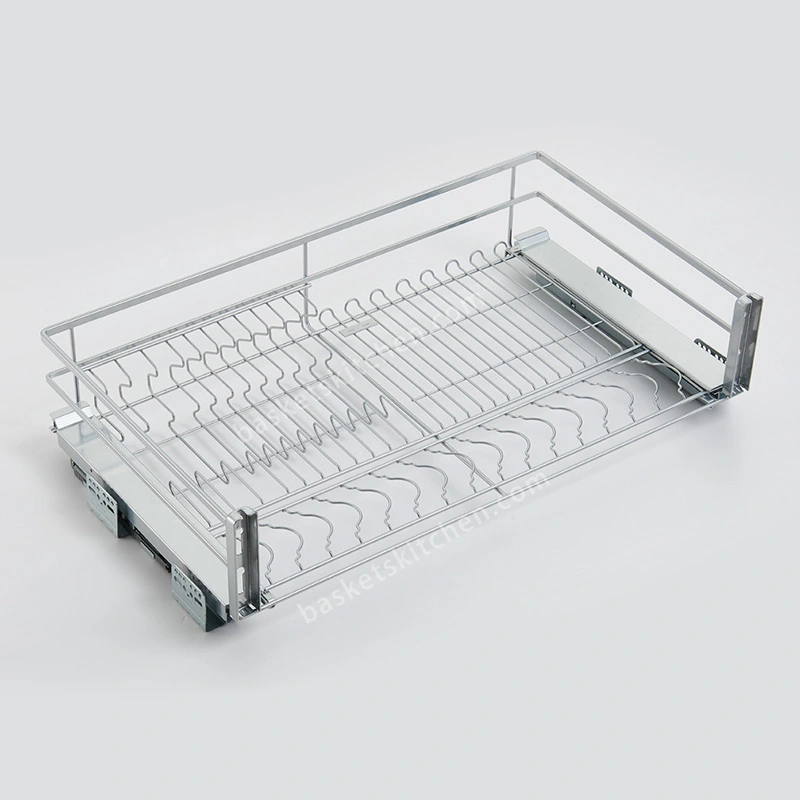
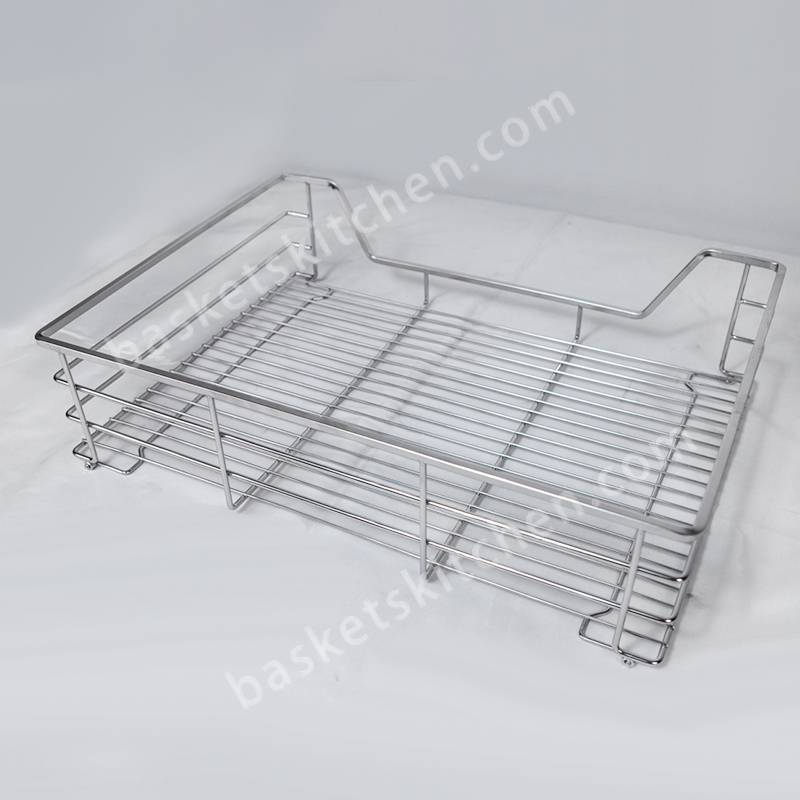
Whether you want to store cleaning supplies, small appliances, or dry food, pull out baskets help you organize your kitchen better. Many homeowners also like the neat, open design of wire baskets, which allow air to circulate and make it easy to see what’s inside.
What You’ll Need
Before you begin, check that you have:
-
Measuring tape
-
Pencil
-
Drill and screwdriver
-
Level
Step 1: Pick the Right Basket
First, measure the inside of your cabinet. Note the width, depth, and height, and make sure there’s enough room for the basket to slide freely. Think about what you plan to store—heavy cookware needs a sturdy, higher-weight capacity basket.
It’s also smart to choose good-quality materials like stainless steel. Wire baskets are popular because they’re strong and easy to clean.
Step 2: Mark the Placement
Once you have the right basket, it’s time to mark where it will go. Use your measuring tape to find the centerline for the rails. Mark the drill holes lightly with a pencil.
Double-check with a level—rails that aren’t straight can make the basket stick or tilt.
Step 3: Attach the Rails
Next, install the rails or brackets inside the cabinet. Drill small pilot holes to make it easier to insert the screws. Tighten the screws firmly, but don’t overdo it—too tight can damage the wood or metal.
Make sure both sides are level and aligned.
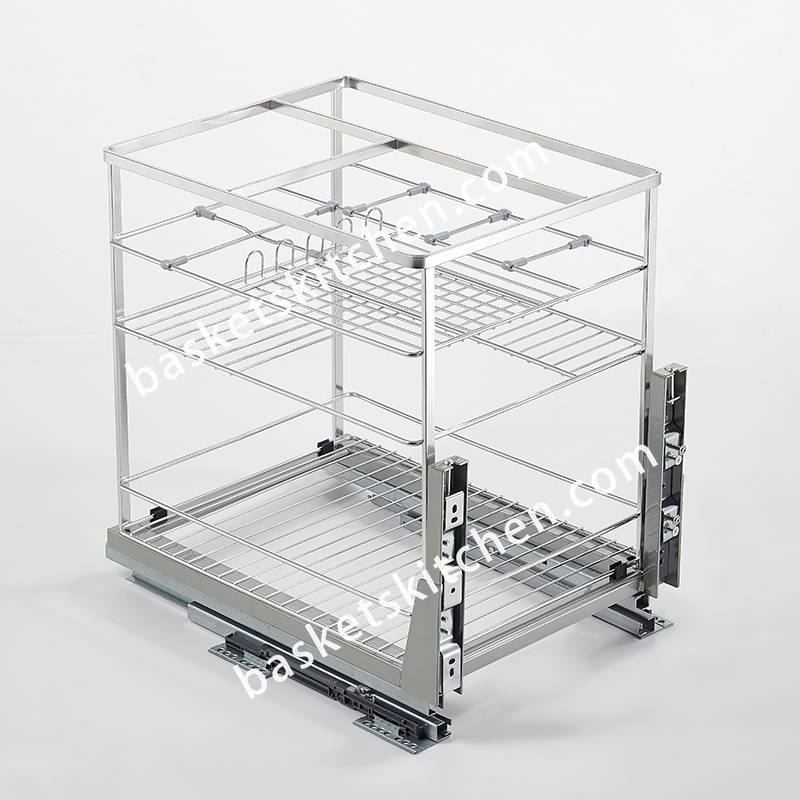
Step 4: Mount the Basket
Slide the basket onto the rails according to the kit instructions. Gently pull it out and push it back in a few times to test the motion.
If it doesn’t slide smoothly, loosen the screws slightly, adjust the rails, and retighten them until the basket moves evenly.
Step 5: Get Organized
Now comes the fun part—putting the basket to use. Store pots, pans, mixing bowls, or pantry items. Try to group similar things together, and put heavier items toward the back to keep the basket stable when you slide it out.
Tips for Long-Lasting Use
-
Wipe the basket and rails occasionally to prevent dust buildup.
-
Don’t overload—stick to the weight limit in the product manual.
-
Check the screws every few months and tighten if needed.
A well-installed pull out basket can last for years with just a little care.
Combine with Other Storage Ideas
To get the most out of your kitchen, combine pull out baskets with other smart solutions—like corner turntables, spice racks, or adjustable shelves. This way, every inch of your cabinets works for you.
Final Thoughts
Installing a pull out basket isn’t hard. With a few basic tools and a little time, you can make your cabinets easier to use and keep your kitchen tidy. It’s a small project that brings daily benefits—less clutter, less hassle, and more enjoyment every time you cook.
Common Questions
Q: Are pull out baskets worth it?
A: Yes. They’re affordable, easy to install, and make cabinets much more practical.
Q: How long does it take to install one?
A: For most cabinets, you can finish in about 30–60 minutes.
Q: Do they fit any cabinet?
A: Most cabinets can fit a pull out basket, but always measure first and check for obstructions like plumbing or hinges.
About the author : basket@admin